Using Gelato
Automate Pyth price updates with Gelato Web3 Functions
This guide shows how to schedule Pyth price updates with a Gelato Web3 Function. The task refreshes on-chain prices after a fixed interval or when a configured deviation threshold is exceeded.
Introduction to Gelato
Gelato is a decentralized backend for EVM chains that lets developers build automated, gasless, and off-chain-aware smart contracts. Web3 Functions (W3F) are decentralized cloud functions that connect contracts to off-chain computation and data sources.
Gelato Web3 Function for Pyth
Gelato hosts a reusable Web3 Function that submits Pyth price updates based on configuration defined in a config.yaml file. You edit that configuration through a GitHub gist—Gelato reads it on each run and applies any changes automatically.
Setup
TypeScript-based Web3 Functions require whitelisting. Reach out to the Gelato team via Discord to request access before creating your task.
- Sign in to GitHub and create a gist containing a file named
config.yaml. - Copy the sample configuration and edit the parameters to match your environment, feeds, update frequency, and deviation thresholds. Additional examples are available in the pyth-gelato-price-pusher repository.
- Save the gist. You can update the configuration at any time; the task will pick up changes automatically.
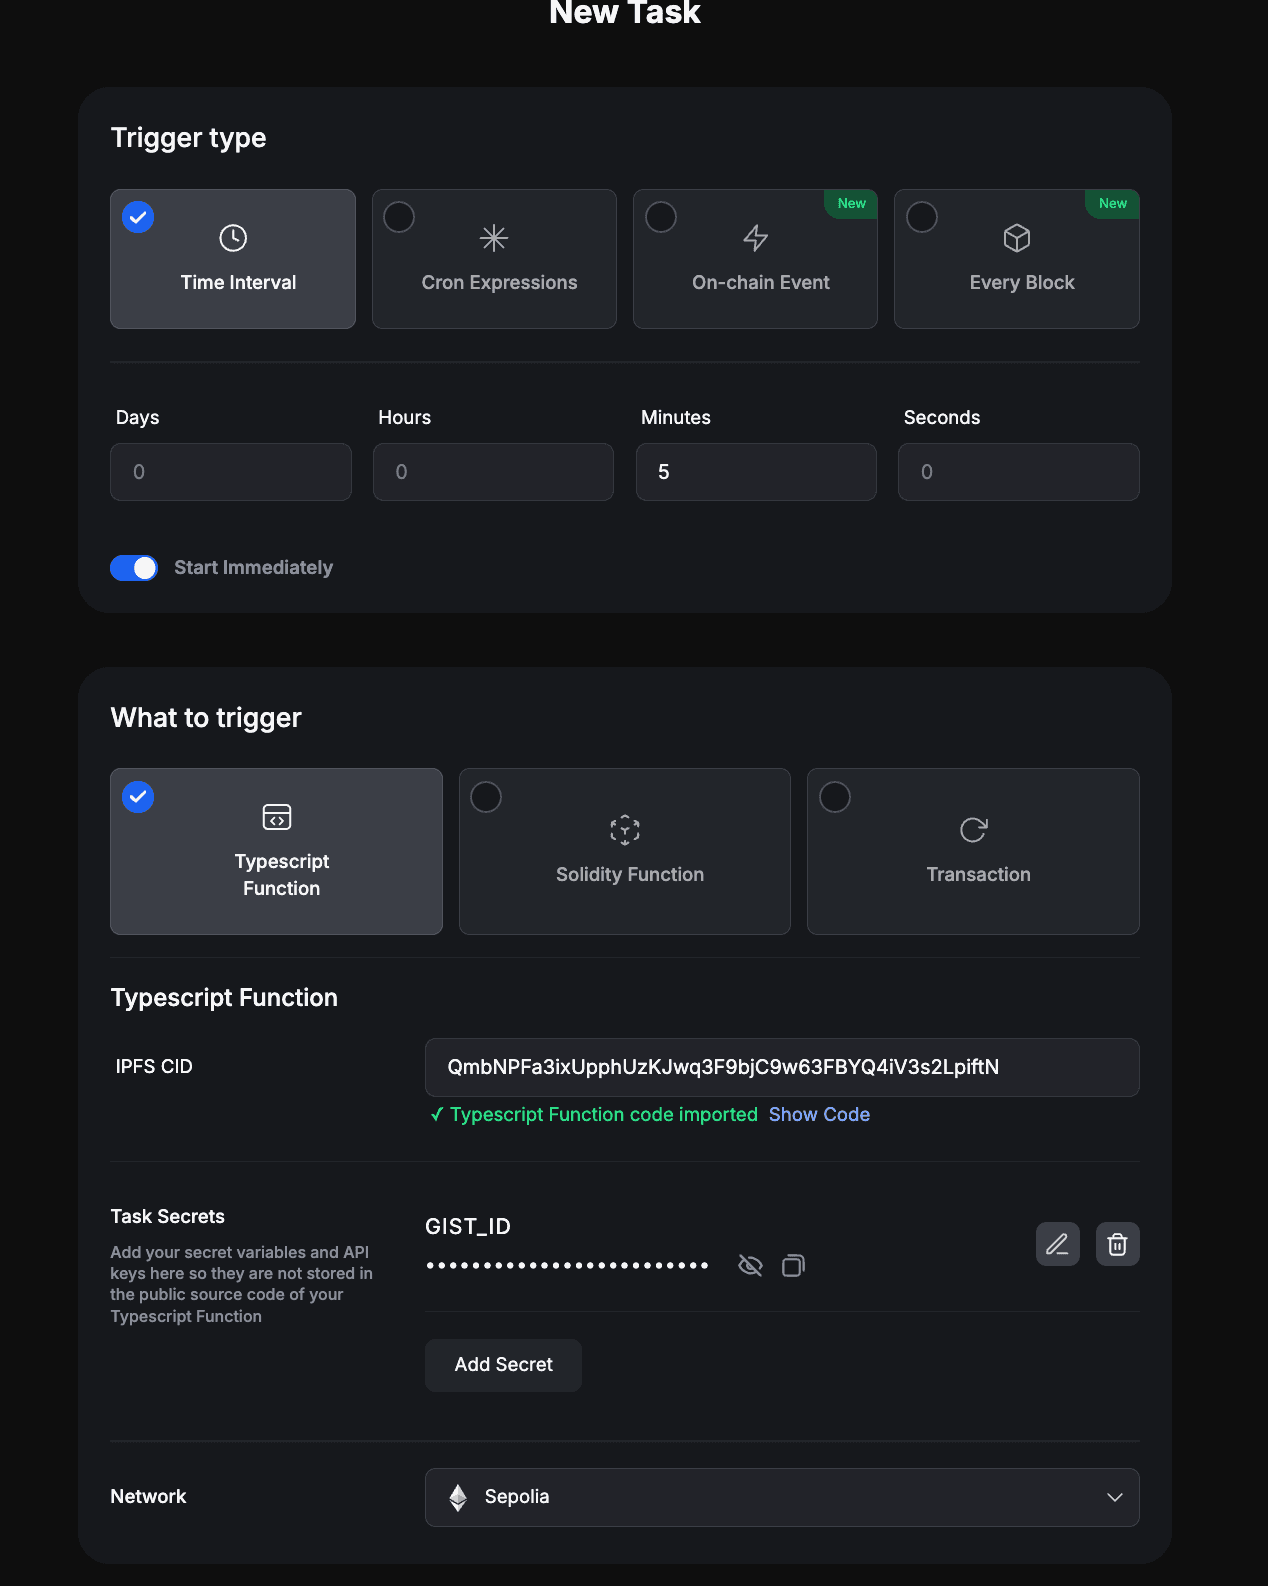
Use the prefilled task link to deploy the Web3 Function:
The CID above points to the official Web3 Function hosted on IPFS. You can review the source code in the pyth-gelato-price-pusher repo.
When prompted:
- Select your target network.
- In Task Secrets, set
GIST_IDto the ID portion of the gist URL you created in the previous step. - Complete the remaining task settings as needed.
Two fee sources must be funded before execution:
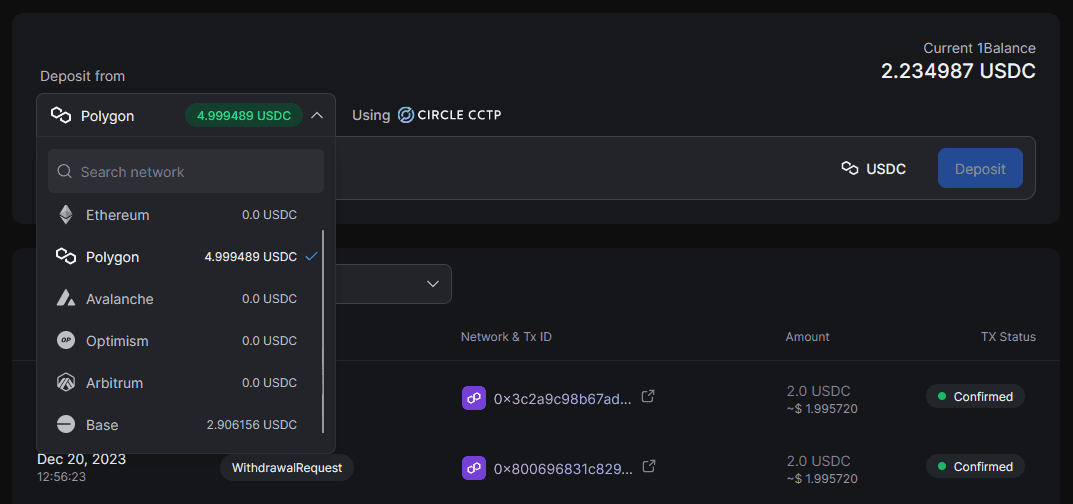
- Gelato fees are paid through 1Balance. After whitelisting, deposit USDC on Polygon via the 1Balance dashboard. These funds cover compute costs and transaction gas across supported networks. (Testnet runs are subsidized by Gelato.)
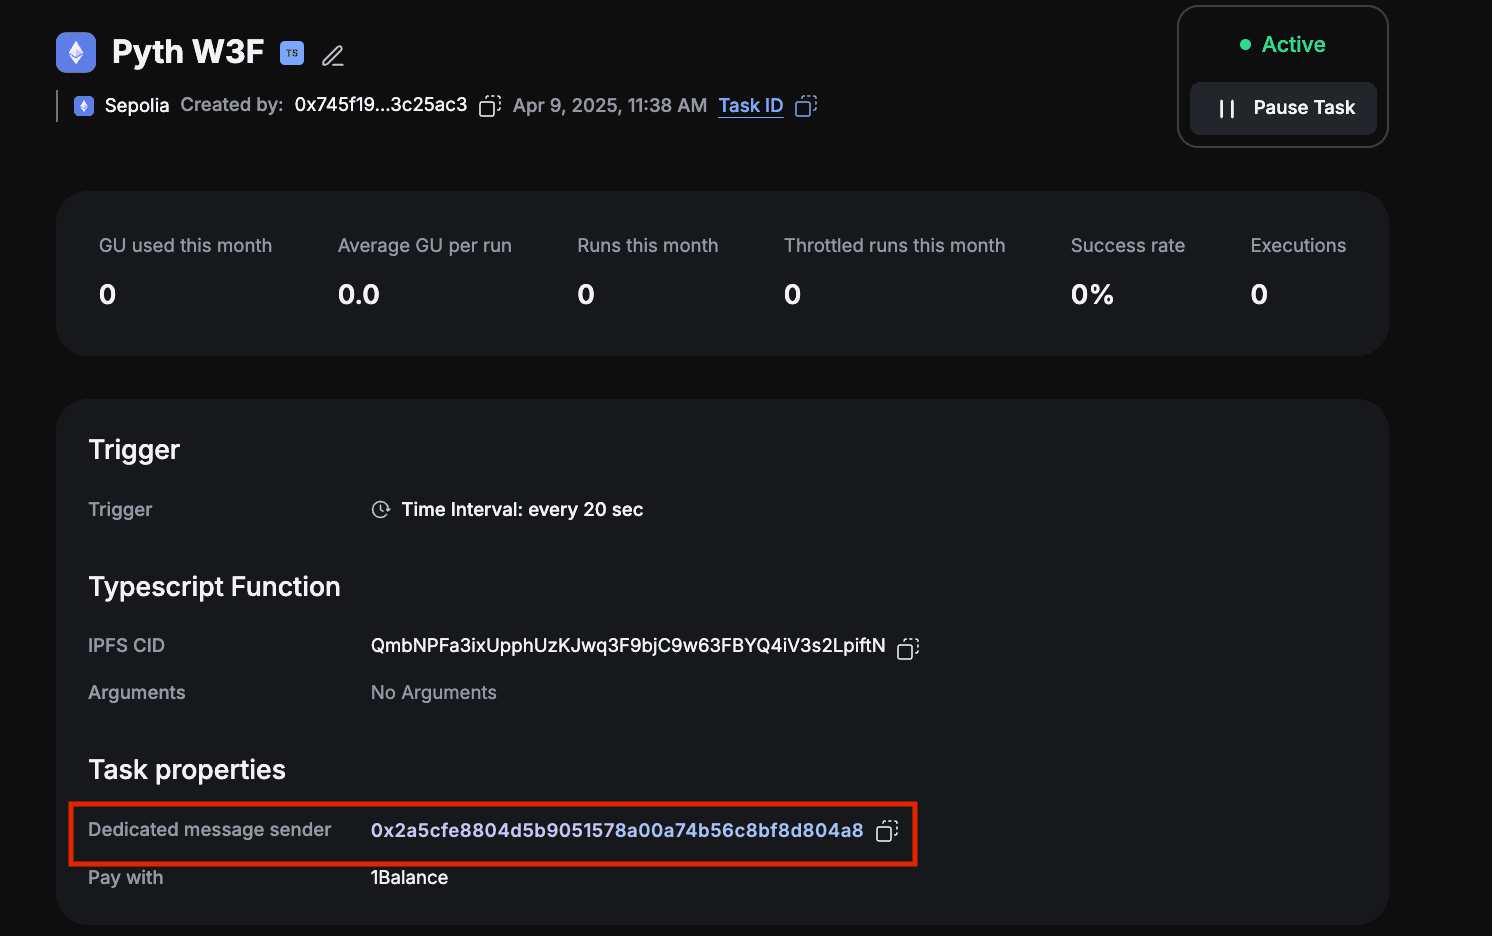
- Pyth fees are paid in the native token of the chain where updates occur. Gelato deploys a
dedicatedMsgSenderproxy contract for each task creator. Transfer native tokens directly to that address on every chain you operate. You can find the address in the Gelato app under task settings.
Subscription Plans
Gelato’s free tier has execution limits. Review current plans at app.gelato.network/1balance/subscriptions
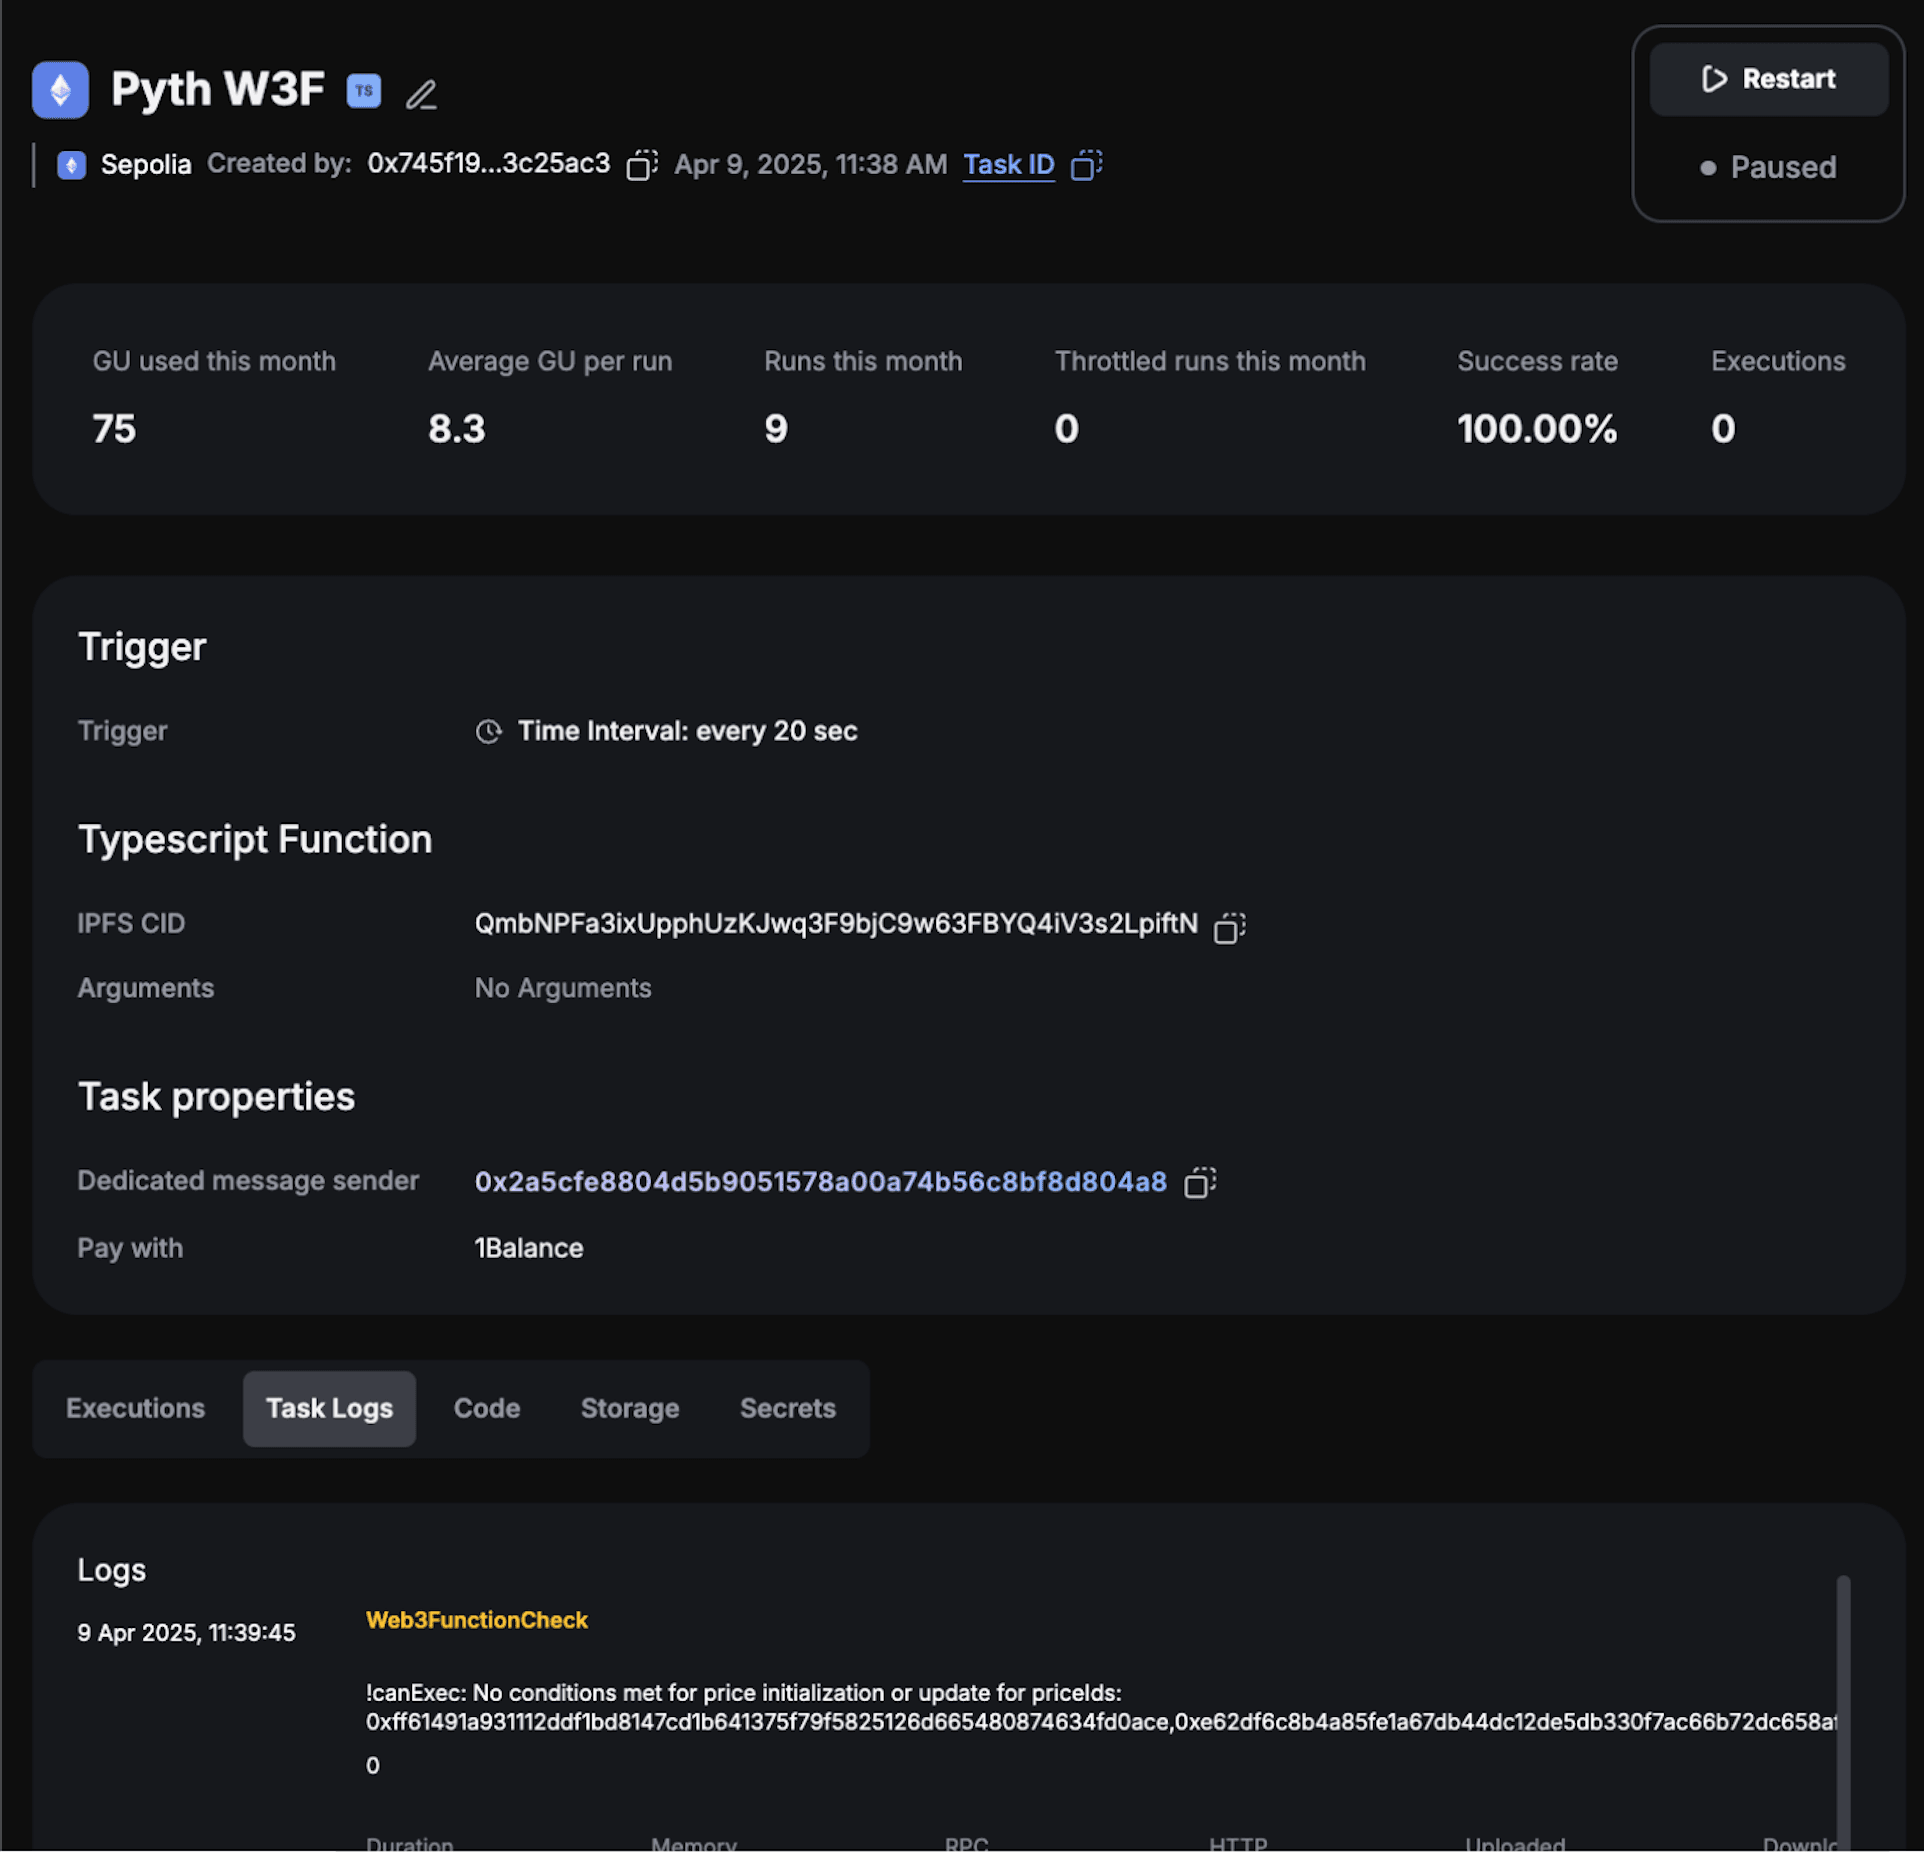
Once the task is active, track executions from the Gelato dashboard. The interface lists recent runs, transaction hashes, and any errors.
Managing Your Task
Monitoring
Set up notifications to ensure 1Balance and dedicatedMsgSender balances remain funded and executions succeed:
Gelato supports alert delivery through Telegram or Discord.
Updating Configuration
To adjust feeds or thresholds, edit the config.yaml gist. The task refreshes configuration based on the
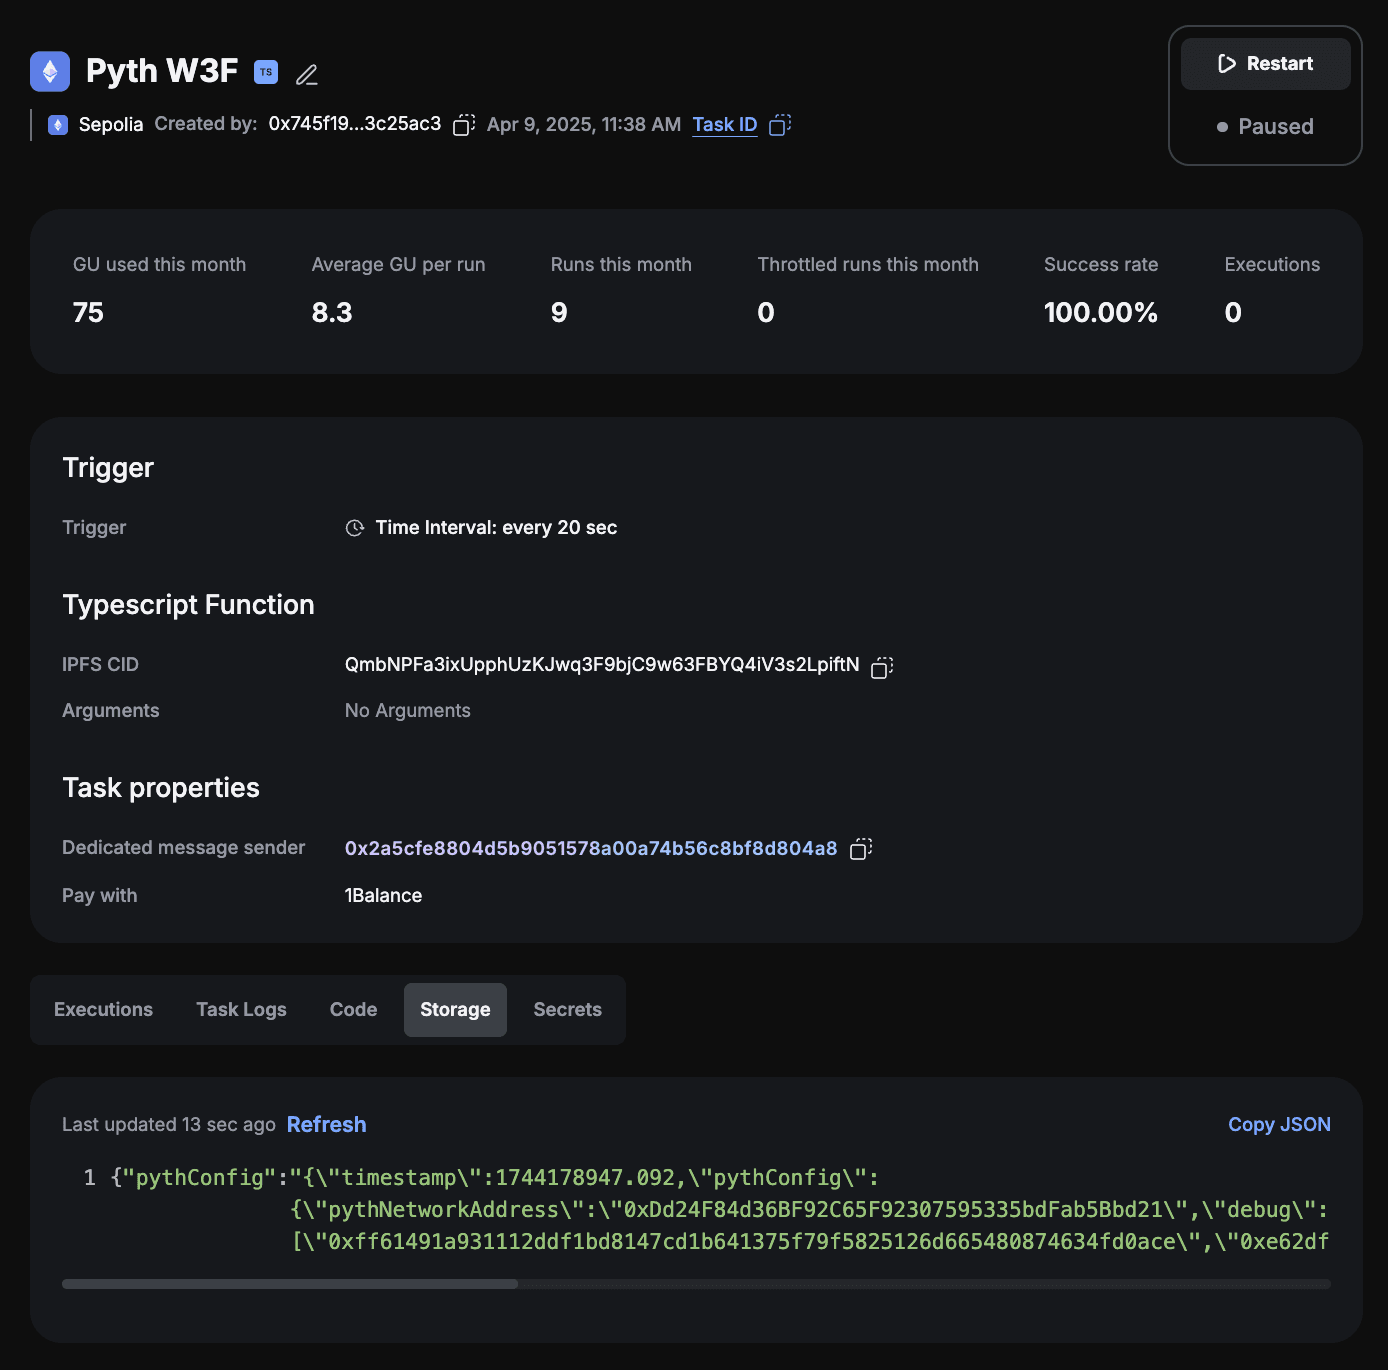
configRefreshRateInSeconds setting, limiting GitHub requests. To confirm the latest configuration is in use, open the Gelato task details, select Storage, and inspect the pythConfig entry.
Advanced Usage
Need deeper customization than the shared Web3 Function supports? Fork the
pyth-gelato-price-pusher repository, deploy your own Web3 Function, and create a task using its CID. Refer to the project README.md and the Gelato Web3 Functions documentation for deployment guidance.